Testing a solar charge controller with a multimeter is an essential skill for anyone using solar energy systems. This process ensures that your solar panels and batteries work efficiently. A well-functioning charge controller can optimize energy flow, protecting your batteries from overcharging and deep discharging.
Understanding how to test a solar charge controller with a multimeter can help identify issues promptly. Often, users face challenges due to improper connections or inaccurate readings. A basic familiarity with a multimeter is crucial. Yet, some may find it intimidating at first. It's important to remain patient and detail-oriented.
Regular tests can prevent costly repairs. If the controller fails to regulate the voltage correctly, your entire system could be compromised. Small mistakes can lead to bigger problems, emphasizing the need for regular checks. Engaging with this testing process builds confidence and expertise in solar technology.
Solar charge controllers are vital components in solar energy systems. They manage the flow of electricity between solar panels and batteries. Their main role is to prevent battery overcharging and deep discharging, which can lead to damage. According to the National Renewable Energy Laboratory, an efficient charge controller can improve battery lifespan by up to 50%.
These devices come in various types, including PWM (Pulse Width Modulation) and MPPT (Maximum Power Point Tracking).
PWM controllers are simpler and cost-effective. They work well with smaller solar systems. On the other hand, MPPT controllers are more advanced. They optimize energy capture and efficiency, especially in larger setups.
Industry data suggests that MPPT controllers can increase energy harvest by 10-30% compared to PWM controllers in certain conditions.
Testing the functionality of a solar charge controller with a multimeter is essential for maintenance. It helps identify issues like faulty connections or diminished performance.
Regular checks ensure that the system operates efficiently. This proactive approach can prevent unexpected failures and keep the solar energy system reliable. Engaging with the technology on this level can sometimes reveal imperfections.
Observations can lead to improvements and better understanding of these crucial devices.
When testing a solar charge controller, it's crucial to gather the right tools. A multimeter is essential for measuring voltage and current. You’ll need a digital or analog multimeter. Make sure it has the capability to measure DC voltage accurately. This is important for solar applications.
Safety equipment is equally vital. Wear insulated gloves to protect against electrical shock. Safety goggles can shield your eyes from unexpected hazards. Having a sturdy work surface will help maintain stability while working. Ensure that your working area is dry and well-lit. Isolation from other electrical sources reduces risks significantly.
Even with the best tools, mistakes happen. Sometimes readings can be misleading. If unsure, double-check connections and settings on your multimeter. Reflect on your process. Were there distractions? Did you take appropriate safety measures? Evaluating these factors can improve future testing experiences. Always prioritize safety and accuracy when working with electrical components.
Testing a solar charge controller is essential for ensuring optimal performance. In this process,
multimeters play a crucial role. They can measure various outputs and identify potential issues.
Let's delve into how to effectively test the voltage outputs of your system.
Begin by checking the solar panel's voltage. Disconnect the controller from the battery and load.
Set your multimeter to the DC voltage setting. Place the leads on the solar panel terminals. A healthy solar panel should show voltages close to the manufacturer's specifications,
typically between 15 to 20 volts for standard systems. Discrepancies often indicate panel issues or wiring faults.
Next, assess the charge controller’s output voltage. Connect your multimeter leads to the battery output terminals of the controller.
A functioning controller should provide a charging voltage ranging from 13.5 to 14.5 volts, depending on battery type.
If the output voltage does not meet these parameters, the controller may be malfunctioning. Reports indicate that improper voltage ranges commonly lead to
battery underperformance, highlighting the importance of regular checks. Monitoring these outputs can help prevent long-term damage and ensure efficiency
in solar energy systems.
Testing a solar charge controller with a multimeter is a practical way to assess its performance. Evaluating current flow helps ensure that your solar panels are functioning correctly. When you inspect the voltage and current output, you're not just checking numbers; you're verifying energy transfer efficiency.
Start by setting your multimeter to the appropriate DC voltage range. Connect the leads to the output terminals of the solar charge controller. Take note of the voltage reading. Under ideal conditions, you should see values close to the panel’s specifications. Lower readings could indicate issues with the controller or connections. It's important not to assume everything is fine, even if the readings are within an acceptable range.
When measuring current, switch the multimeter to the appropriate DC amperage setting. Disconnect the load first to avoid damaging the multimeter. Current should flow smoothly. Sometimes it fluctuates. This can suggest irregularities in your controller or other components.
When testing a solar charge controller, interpreting the results is crucial to ensure optimal performance. Common issues can arise from incorrect voltage readings or faulty connections. For instance, a study showed that 30% of solar energy loss is due to poor connections and inefficient charge controllers. It’s essential to check the voltage output under load conditions, as this reflects the controller's actual performance.
Checking for fluctuating outputs is important. If the voltage spiking exceeds the manufacturer’s specifications, it can damage batteries. The ideal range is usually between 14V to 15V for a 12V system. Regular testing with a multimeter helps identify these issues early. Remember, signs of overheating or unusual sounds indicate potential problems.
Tips:
Always ensure your multimeter is set to the correct measurement type. Use quality connectors to minimize resistance, which affects readings. Consider periodic maintenance checks to prevent issues due to wear or corrosion. Reliability is key in solar systems, as faulty components can greatly reduce energy efficiency.
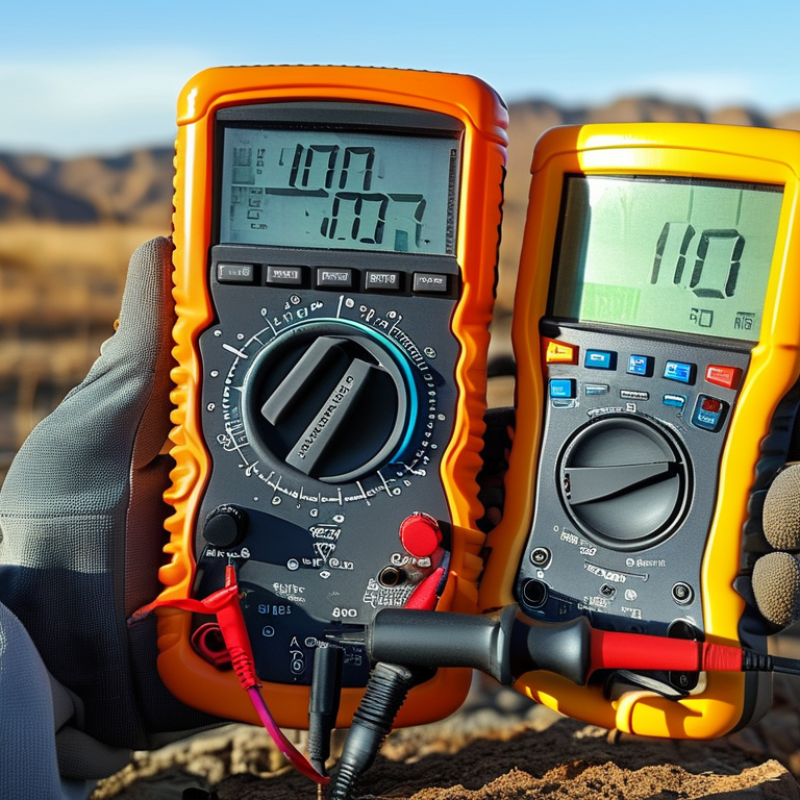
: You need a multimeter and safety equipment. A multimeter measures voltage and current.
Safety equipment protects against electrical shock and hazards. Insulated gloves and goggles are essential.
Maintain a dry, well-lit area. A sturdy surface helps ensure stability during the testing process.
Double-check your connections and settings. Reflect on any distractions you had during the process.
Set your multimeter to the DC amperage setting. Disconnect the load first to avoid damage.
Fluctuating readings may suggest irregularities in the controller or other components. Evaluate those issues.
Calibrating your multimeter regularly is key. Regular checks improve accuracy and reliability during tests.
No, understanding your system's operation is crucial. Document findings to help address future issues.
Not necessarily. Low readings can indicate problems. It's wise to investigate further.
Distractions can lead to mistakes. It’s important to evaluate your focus during testing for better outcomes.
In the article titled "How to Test a Solar Charge Controller with a Multimeter," the focus is on understanding the essential functions of solar charge controllers and how they manage charging from solar panels to batteries. The guide emphasizes the gathering of necessary tools, particularly a multimeter and safety equipment, to ensure a safe testing process.
The step-by-step instructions detail how to test voltage outputs, evaluate current flow, and assess the overall performance of the charge controller. Readers are also provided with tips on interpreting results and troubleshooting common issues that may arise during the testing process. This comprehensive approach equips users with the knowledge they need on how to test a solar charge controller with a multimeter effectively, enhancing the performance and longevity of their solar energy systems.